.png?height=120&name=Scaling%20With%20Systems%20Logo%20(White).png)
How To Create And Share Smart Lists In ProspectFlow
Smart Lists are a great way of organizing and segmenting your contacts into defined groups.
For example, you could have a smart list that contains all contacts that have the first name “John”.
Your Smart List will then automatically update itself every time a new contact is added that has the first name “John”.
You can add multiple conditions for each Smart List, and create as many Smart Lists as you like.
By default, each Smart List you create will only be saved to your personal account, and not any other users you may share your account with.
If you would like to share a Smart List with other users within your account, you can do so by following the guide linked below.
- From the ProspectFlow dashboard, navigate to contacts by clicking “Contacts” from the menu on the left.
- From the contacts screen, click the “More Filters” icon at the top right corner of the contacts option.
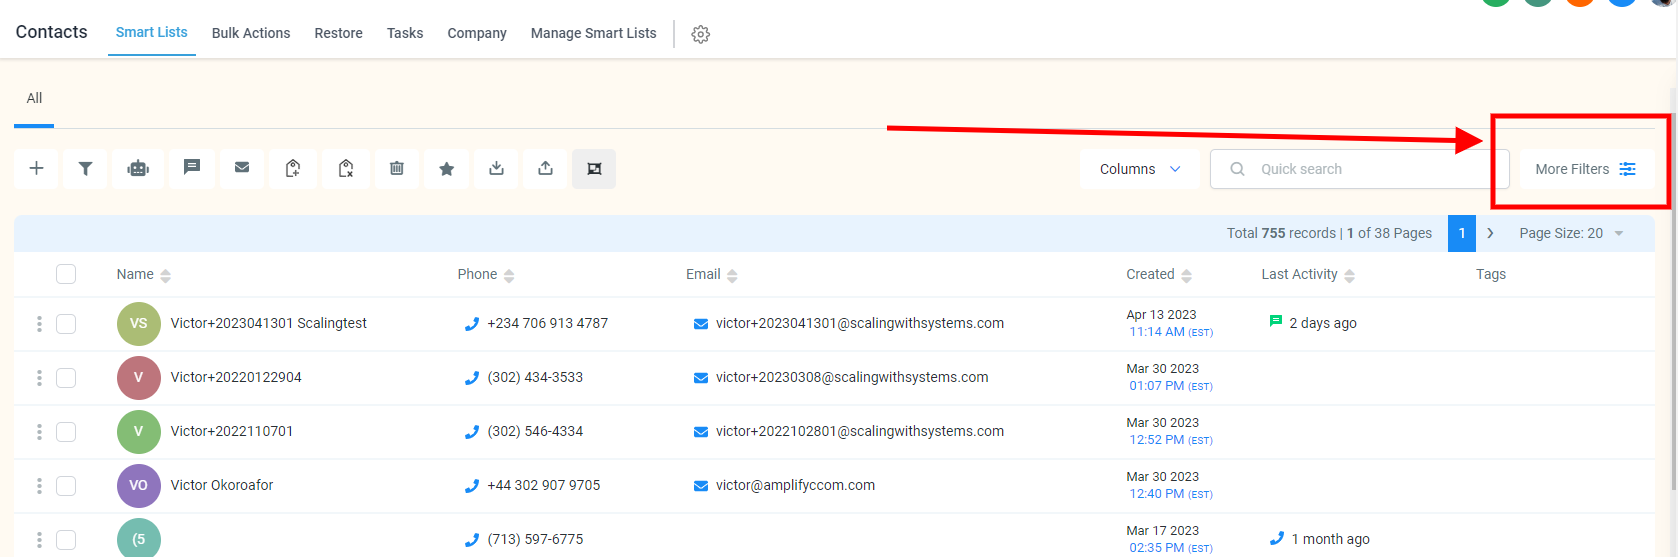
- The filter feature in ProspectFlow allows you to sort your contacts by various criteria, including:
-
Contact Information: This includes basic details like name, email, phone number, tags, and address.
-
Contact Activity: These fields let you sort based on the actions your contacts have taken, such as the workflows or campaigns they've been through, and when these actions occurred.
-
Opportunity Information: These fields let you filter contacts based on where they stand in your sales pipeline.
-
Attribution: You can segment your contacts based on where they came from, such as Facebook, Google, or organic search.
-
Custom Fields: With custom fields, you can sort contacts based on the specific values of any custom fields you created. For example, you can sort based on how they responded to a particular form or survey.
-
- The filter feature in ProspectFlow allows you to sort your contacts by various criteria, including:
- After selecting the appropriate filters for your Smart List.
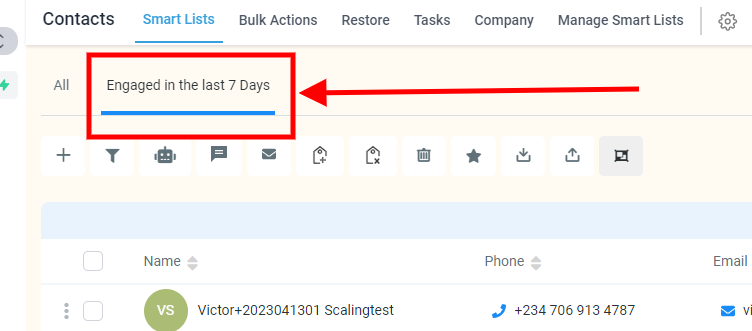
- Click "Save as Smart List" to save the Smart List and give your new smart list a name.
- After clicking "Save", The smart list will show up as a segment "Smart Lists" going forward.
-
To modify or remove your smart lists, access the "Contacts" window and select the "Manage Smart Lists" tab. All of your created smart lists will be displayed there. You can copy, share, edit, or delete any Smart List by clicking on the icons to the right of the Smart List.

Now every time a new contact is added to your database that meets the criteria set by your filter settings, they will be automatically added to this Smart List.