.png?height=120&name=Scaling%20With%20Systems%20Logo%20(White).png)
How To Set Up Your ProspectFlow Account
The ProspectFlow is an all-in-one sales & marketing tool that helps you to generate more leads, close deals, and scale your business up to 10x faster. All on autopilot.
Adding Your Business Logo
- Navigate to the ProspectFlow dashboard.
- Click on "Settings" in the left-side menu.
- In the "Settings" menu, go to the "Business Profile" tab.
- Click the "Change" button located under "Company Logo."

- Ensure that the logo is between 350px in height and 180px in width.
- If your logo exceeds the height and width requirement, you can reduce its size using a service like Image Resizer.
Update Your Company Information
- From the "Business Profile" tab under "Settings", Change the company name field to your business name.
- Add your business email to the "company email" field.
- Add your business phone number to the "company phone" field.
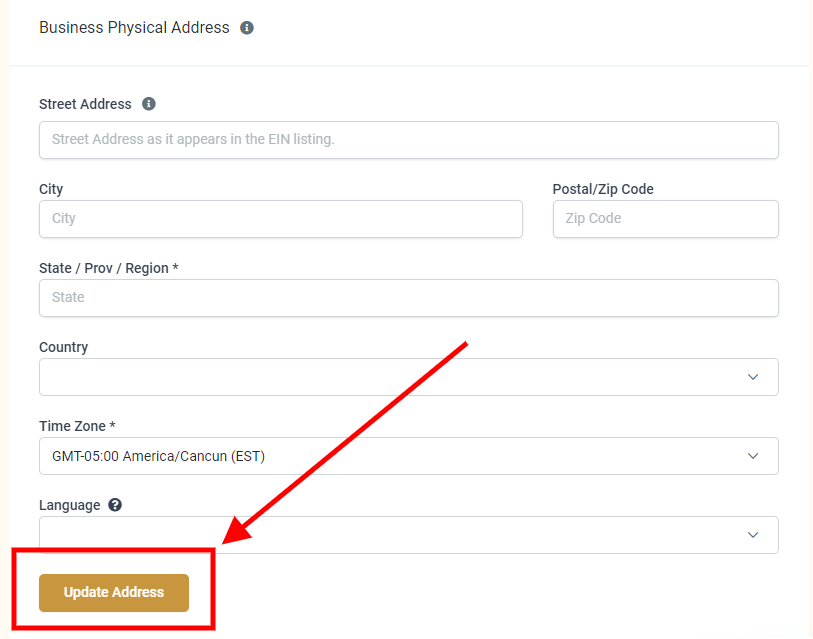
- Update your company address, City, State, Zip code, and Country. It is important to do this because, in certain countries, such as the United States, it is mandatory to include your business address in your email communications.
- We also recommend that you consult with your lawyer on this.
- Select your Time zone from the Time zone dropdown.
- Click the "Update Address" button to save the updated company info.
Update Your Personal Profile
- Click "Profile" from the "Settings" menu.
- Click the "Change" button located under "Personal Image."
- Ensure that the image is between 512px in height and 512px in width.
- Click any of the text fields (First Name, Last Name, Email, and Phone Number) to update them then click "Update Profile".
- Enter your email signature in the "Email Signature" field. Please note that in certain countries, such as the United States, it is mandatory to include your business address in your email communications.
- We also recommend that you consult with your lawyer on this.
- To ensure your appointments booked on ProspectFlow's group calendars will get their Zoom link automatically generated, click the "Connect" button under Zoom in the "Integrations" field to connect your Zoom account.
- Set your "Availability" and "Meeting location" then click "Update Availability".
Update The Demo Call Calendar Settings
- Click "Calendars" from the menu on the left.
- Click the action drop-down on the "Schedule A Demo Call". calendar then click "Edit" from the dropdown menu.
- Add a user by clicking the "Add User" button then select a user by clicking the "Select User" dropdown and clicking the user.
- Select Zoom from the "Custom" dropdown. If you have connected your Zoom account as stated in step 6 of Update Your Personal Profile, you should see your email on the Zoom option. Scroll down and click "Save".
- Configure the calendar availability then click "Save".
- Slot Duration: The time allotted for each appointment slot on your calendar.
- Slot Interval: The frequency at which appointment slots are made available on your calendar.
- Appointments Per Slot: The maximum number of appointments that can be scheduled for each slot.
- Minimum Scheduling Notice: The minimum amount of time required between the scheduling and start time of an appointment.
- Date Range: The period during which your calendar is available for scheduling appointments.
- Appointments Per Day: The maximum number of appointments allowed per day on this calendar.
- Configure the confirmation page then click "Complete".