.png?height=120&name=Scaling%20With%20Systems%20Logo%20(White).png)
How To Create A Workflow In ProspectFlow
ProspectFlow workflows are the central mechanism that enables you to automate any event occurring within it.
These workflows operate on the "If this then that" principle and serve as the wiring or "secret sauce" in the back end, powering all the remarkable functionalities of ProspectFlow.
With workflows, we can accomplish tasks such as:
-
Adding a lead to a reminder sequence (emails and text messages) when an appointment is scheduled.
-
Updating a lead's position on the sales pipeline when they make a purchase.
-
Guiding customers through an onboarding sequence following their purchase of a product.
In this article, you'll learn how to create a workflow in ProspectFlow from scratch.
The Components Of A Workflow
- Triggers - These are the events that activate the workflow. Here are some of the triggers that ship with ProspectFlow

- Actions -Refer to events that happen after the trigger. Below are some examples of actions that can be initiated when a trigger is activated.

Creating A Workflow
- Open the ProspectFlow dashboard and click "Automation" from the menu on the left.
- Click the "Create workflow" button located at the top right corner of the screen.
- Select "Start from scratch" from the options and click "Create new workflow".
- Click "Add New Workflow Trigger" in the workflow editor and choose a trigger from the list of triggers.
- Customize the trigger settings and click "Save Trigger" at the bottom right corner of the trigger menu.
- To add an action, click "Add your first Action" and select an event from the list of events.
- Customize the action settings and click the "Save Action" button at the bottom right corner of the action menu.
- Add more actions by clicking the "+" icon under the action step.
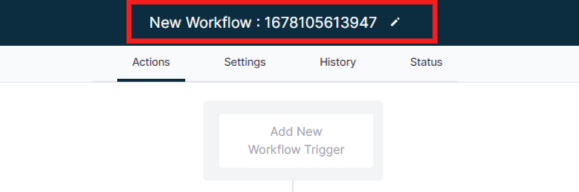
- Give the workflow a descriptive name by clicking the title at the top of the page.
- When you are done configuring the workflow, toggle it by clicking the "Draft - Publish" switch then click the "Save" button at the top right corner of the screen.